Maintaining clean and fresh air inside your vehicle is essential for a comfortable and healthy driving experience. One crucial component responsible for filtering the air is the cabin air filter. Unlike most components in your car, it can be changed quite easily and can be a fun DIY project.
Do you want to know how to do it exactly? Well, keep on reading and follow the guide below!
Step 1: Gather the Necessary Tools and Parts
Before starting, ensure you have the following tools and a replacement cabin air filter compatible with your Ford F-150:
- Screwdriver (if needed)
- Replacement cabin air filter (make sure it matches your vehicle's make, model, and year)
- Owner's manual (for reference)
Step 2: Locate the Cabin Air Filter Housing
The cabin air filter housing is usually located beneath the dashboard on the passenger side of the vehicle. Refer to your owner's manual for the precise location and specific instructions, as it may vary slightly depending on the F-150 model year.
Step 3: Remove the Cabin Air Filter Housing Cover
Using a screwdriver (if required), carefully remove the screws or clips securing the cabin air filter housing cover. Gently pry off the cover to expose the cabin air filter.
Step 4: Remove the Old Cabin Air Filter
Take note of the direction and orientation of the old cabin air filter before removing it. Carefully lift it out of the housing, making sure to avoid spreading any accumulated dust or debris inside the vehicle. Dispose of the old filter properly.
Step 5: Clean the Cabin Air Filter Housing
Inspect the cabin air filter housing for any debris or dirt. Use a clean cloth or a vacuum cleaner to remove any loose particles or buildup, ensuring a clean and fresh environment for the new filter.
Step 6: Install the New Cabin Air Filter
Take the new cabin air filter and align it correctly with the housing, ensuring the arrows or indicators on the filter match the airflow direction specified by the manufacturer. Gently slide the filter into place, making sure it fits snugly.
Step 7: Reassemble the Cabin Air Filter Housing
Carefully put the cabin air filter housing cover back into position. Secure it using the screws or clips that were removed earlier. Ensure it is tightly secured to prevent any air leaks.
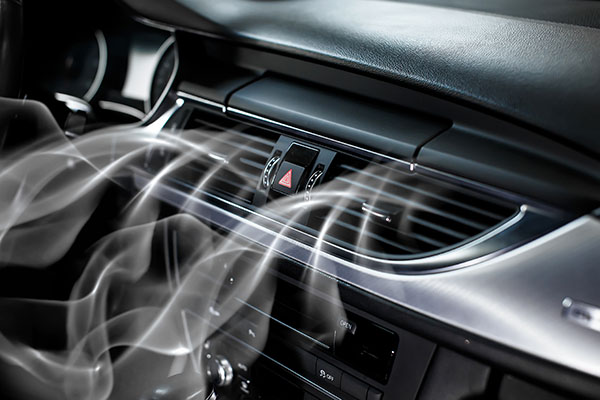
Step 8: Test the New Cabin Air Filter
Once the cabin air filter is installed and the housing cover is securely in place, turn on your Ford F-150's ventilation system. Check for proper airflow and listen for any unusual noises or vibrations. If everything appears normal, you have successfully changed the cabin air filter.
Having trouble with the change? Don't worry because we at Exclusive Motorworks are here to help - just call us or book an appointment and we will be waiting!